
With Halloween coming up and me making my own costume, a dress form can come in handy when doing needlework. But dressforms can be uber expensive, and finding one that fits your measurements is a tough feat. That's why I decided to make my own, with the help of my 'twin' Emi and my bf. Nyarigatou! <3

Here's what you need to make your own mannequin:
1 pair of scissors
1 roll of cling wrap
1 roll of Duct tape, 60 yards (or more depending on your body type)
10 full newspapers (I used huge Vancouver Sun newspapers)
4 pieces of cardboard (1 each for your neck, arms and bottom)
1 pole of any material (I used cardboard wrapping paper rolls)
1 box and filling (to use as a base)
Step 1: Wrap yourself with cling wrap
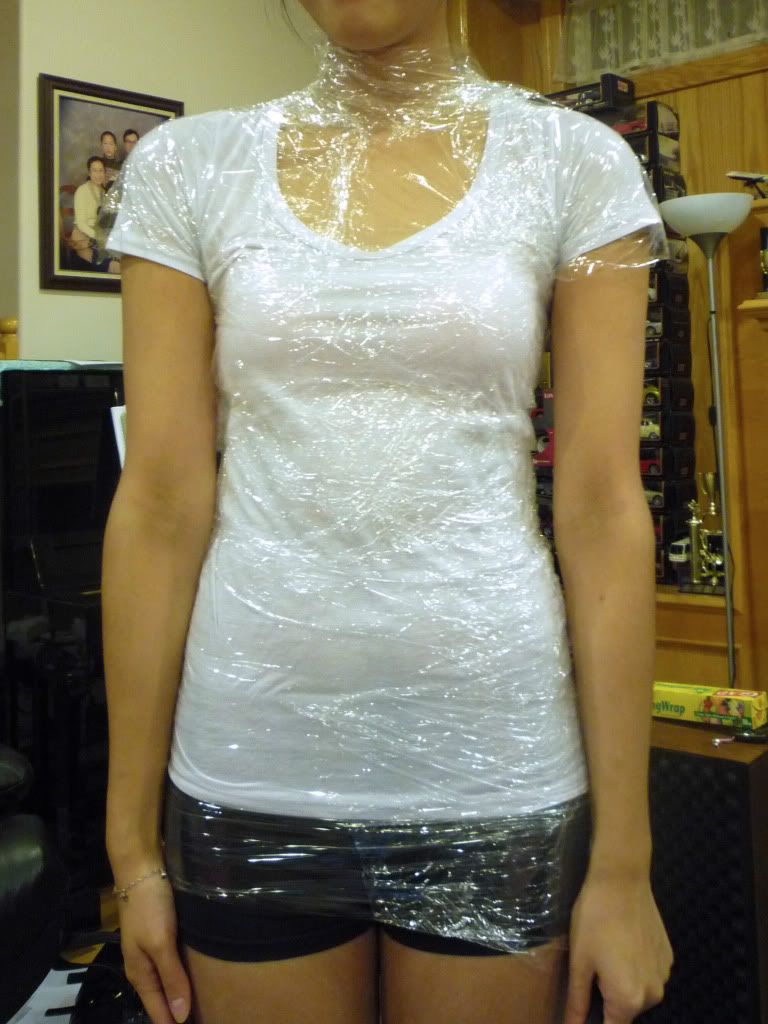 |
| Don't I look silly :) |
Step 2: Stick on the duct tape!
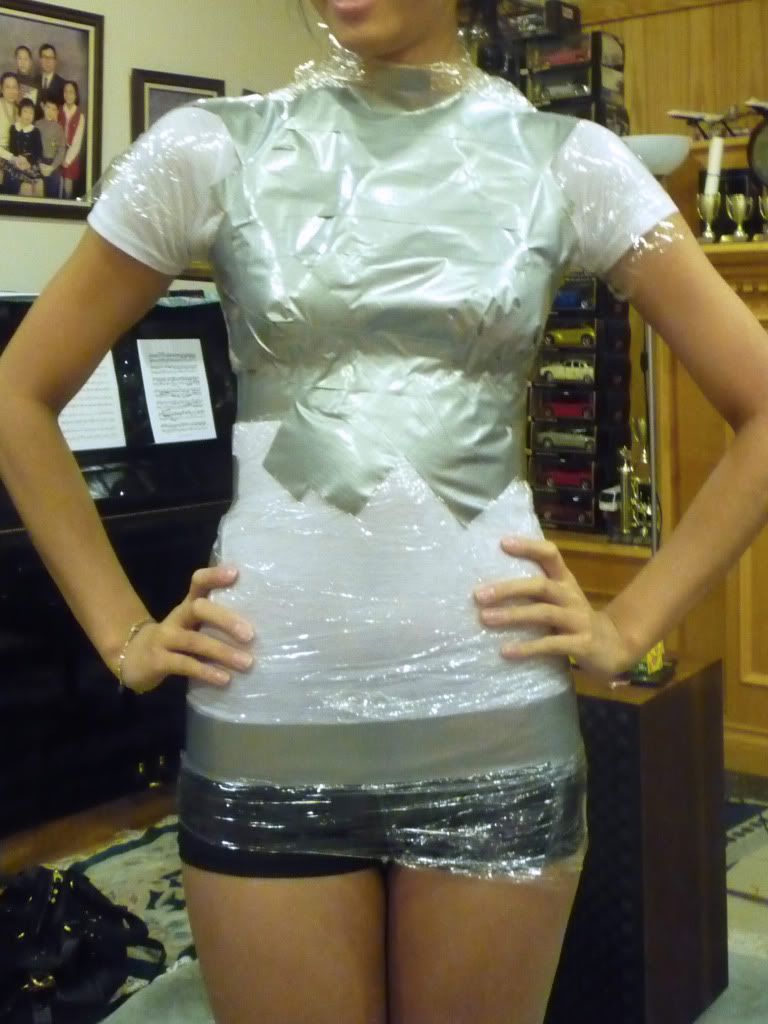
Make an X on your chest (middle of your bosom) and start adhering arms-lengths of duct tape in a diagonal fashion across your chest. This makes it easier to get the rounder areas. Continue up the shoulders and around your back using the same method. I used mostly horizontal strips across my back. Don't use a long strip of tape from the back to your front because your body isn't shaped like a box and the model won't be shaped correctly. Use smaller strips for optimal results. I did this all the way down my body.
Step 3: Cut a vertical strip down your back
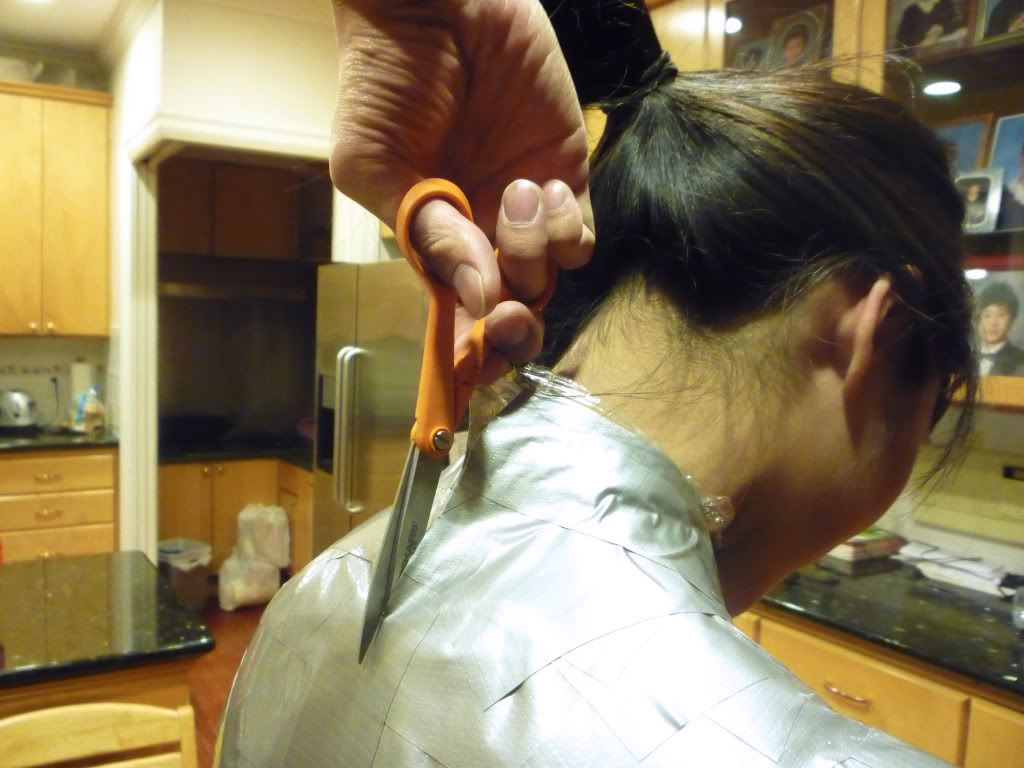 |
| "Don't cut my bra! Don't cut my shirt! Watch my shorts!!" |
Step 4: Tape your dummy back up
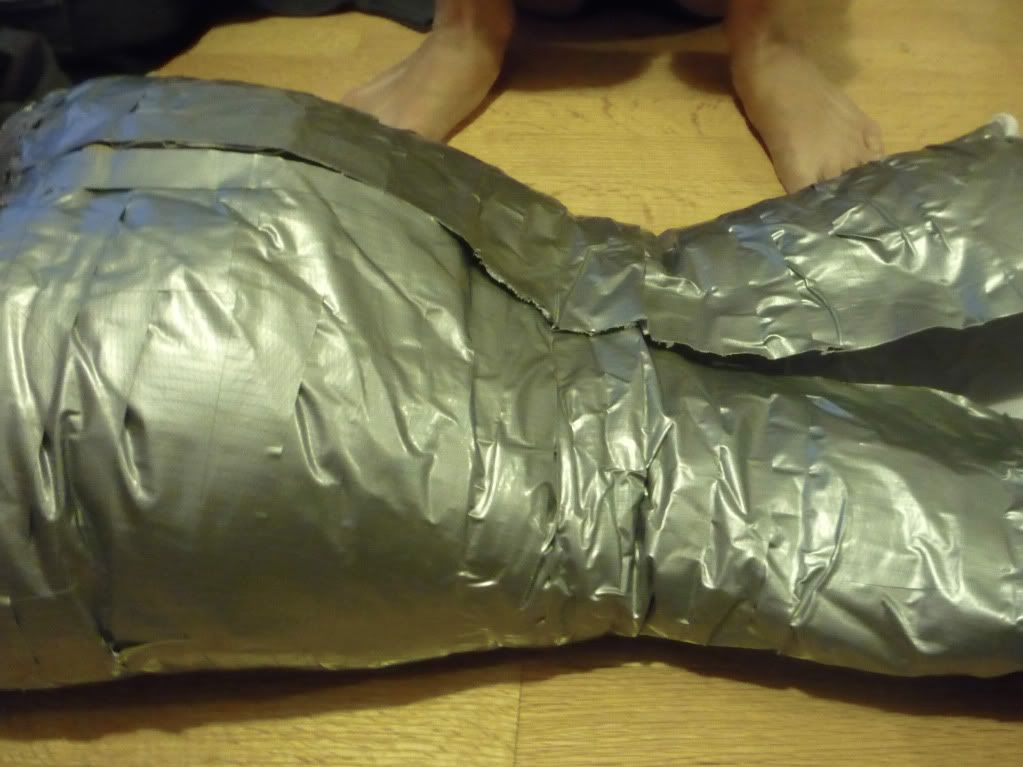
I used hands-length horizontal strips to tape my dummy back together again.
Step 5: Put the pole in your dress form and start stuffing
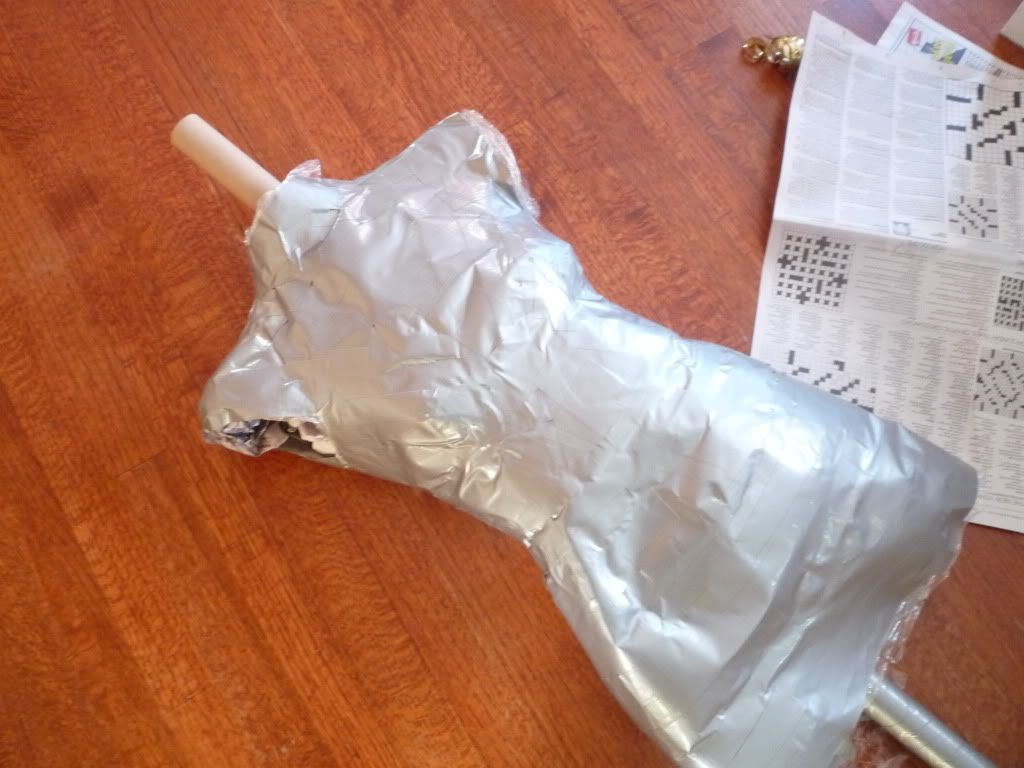
This is what your dummy should look like after you've finished taping it back up. Slide the pole through the bottom up to the neck and make sure that when it stands, it is around your height. Then stuff tightly-balled newspapers around the pole, keeping it in the middle at all times. Alternatively you can use poly batting, but I recently got a free Vancouver Sun subscription so I used newspapers instead. This step took me around 1.5 hours.
Step 6: Cover the holes with cardboard
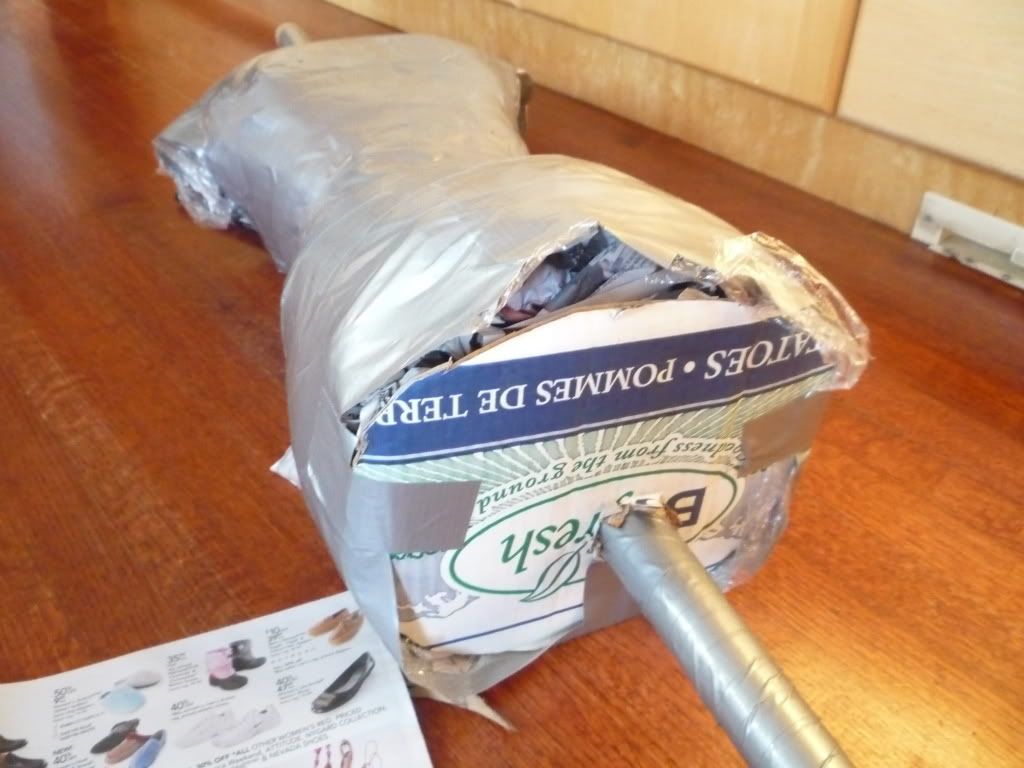
I cut round cardboard cut-outs the size of the bottom holes, arm holes and neck hole, with an additional holes in the bottom and neck to accommodate for the pole. Secure them with more duct tape.
Step 7: Put the pole in the base and fill with something heavy
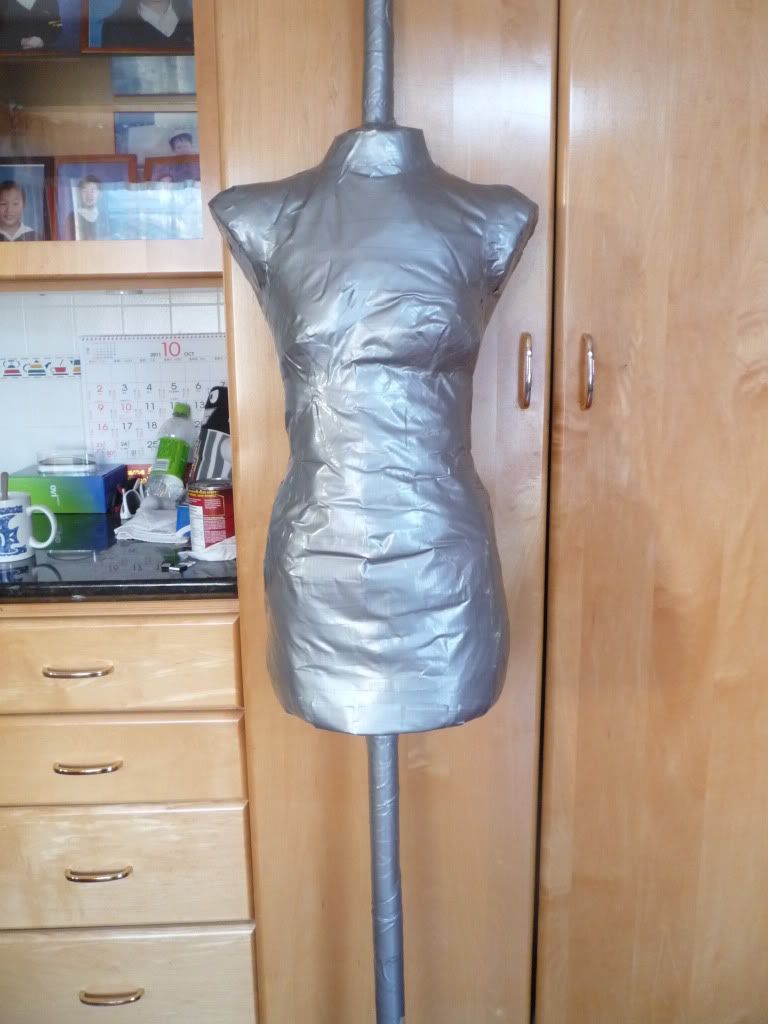
Here's what your finished dress form should look like. Put the pole in the box, cut a whole on top for the pole, and fill with something heavy. I used rice, but you can use anything: rocks, sand, etc.
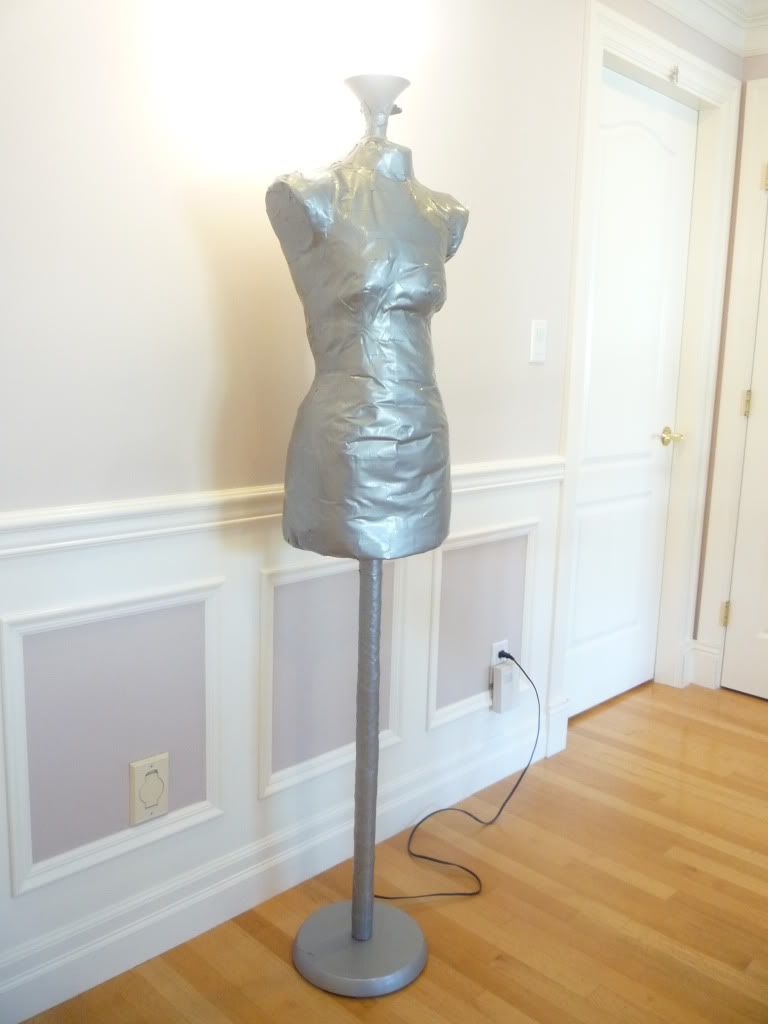
My mum found an old lamp (one of those long standing ones) that she didn't need and let me use it for my mannequin. I simply took the lampshade off, slid my dress form + pole over the existing lamp pole and screwed the lamp back in. Now I have a base too!
And VOILA! Finished! A mannequin to your exact size~ (Complete with environmentally friendly energy-saving fluorescent light bulb!)
Here's what it looks like with the light on :)
If you have any questions, let me know!
I'll be happy to answer them :)
I'll be happy to answer them :)
Really creative. I'd have to hide my dress form at night or else I might scare myself into thinking there is a creepy stranger in my room!
ReplyDeletesuch a smart idea. mine would probably turn out ugly =(
ReplyDeleteomfg. that's so awesome. i need to try that out. :)
ReplyDeleteBriliant!! That's very creative indeed. I have always wanted a dressform. Thank you for this amazing Public Service post :)
ReplyDeleteCan't wait to see photos of your costume.
wow that's so smart! I've wanted a dress form for a while but I never thought it'd be possible to make one myself! Thanks for the great tutorial! :)
ReplyDeleteHow long does it take for your helper to do the taping and cutting you out of the duct tape prison? This will determine who will be able to help me with this. Thanks.
ReplyDelete